10 Tips for D.I.Y. Van Builders

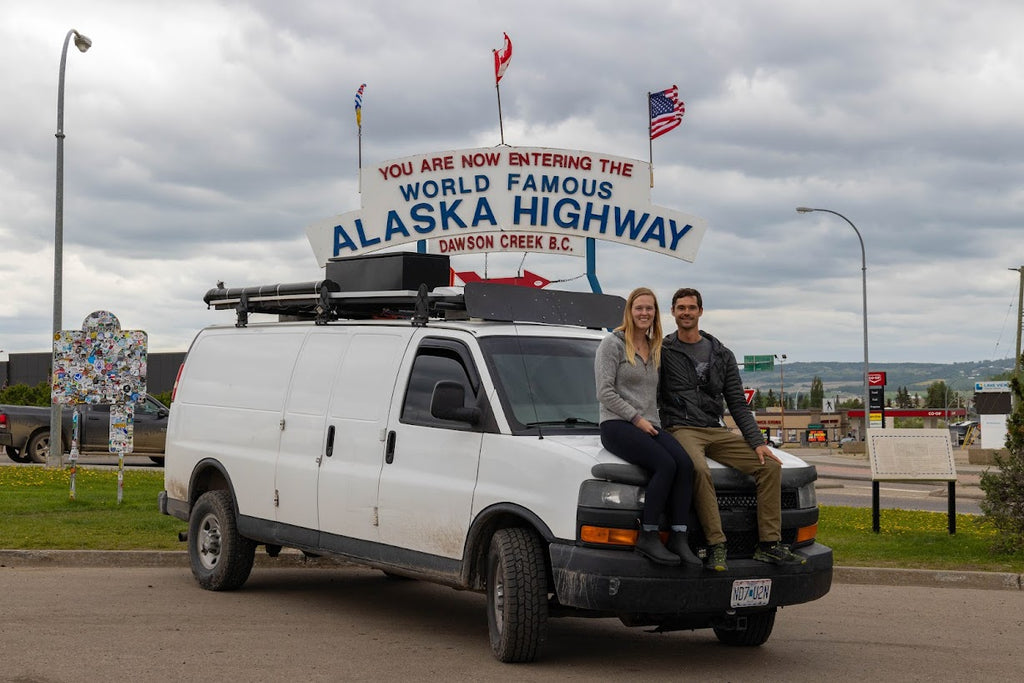
We partnered with our friends Eric and Ashley from CreateYourOwn Roadshow.com (CYOR) to share their top 10 tips when building a DIY campervan. Eric and Ashley have been living on the road since 2020 in Chevy Express they built out themselves. This post summarizes all the practical information they wish they had known before starting their van build. We hope this article helps you on your van life journey, wherever you are along the way!
Tip #1: Insulate Your Cab
Insulation is your friend: it keeps you warmer in the winter, cooler in the summer and keeps sound at bay. Think of it as a buffer between you and the sometimes harsh outside world. Although insulation isn’t the sexiest topic, it's an important part of any van build and will have a big impact on your van living experience. Oftentimes the cab of your van (where you and a passenger sit to drive) gets overlooked, but it has a huge impact on the overall temperature inside your van.
First we suggest making custom window covers that fit really tight inside the windshield and both side windows. You can achieve this by tracing the profile of the windows onto a large roll of paper, then transferring this to a sheet of Reflectix. Once you have your Reflectix cut to shape, adhere some black fabric onto one side with spray adhesive. We used a black pleated batting material that looked nice and added some thermal insulation. Then we just used black duct tape to finish off the edge. Our window covers get daily use in our van and we couldn't imagine life without them. They drastically reduce the temperature in the cab and provide excellent privacy.
Second, we recommend insulating above the headliner. Sometimes the metal above the headliner is the only area of exposed metal left in the van after insulating the rear cargo area because it's easy to forget about and kinda a pain to get to. Because it's a giant area of exposed metal, it will be the first place that condensation forms when the dew point is met. We found this out the hard way when it was literally raining from the headliner in the van after a night below freezing. So, whatever type of insulation you choose, make sure to give the cab some love.

Insulation bonus tip - Spray foam such as Great Stuff needs atmospheric moisture to cure. We discovered that if you fill a giant air-tight cavity with spray foam, it will not properly cure. If the foam doesn't get exposed to moisture from the air, it turns to a sticky, liquid mess and won't provide any insulating properties at all. If you need to fill large volumes such as the metal ribs in the wall of your van, you can either go slowly filling small gaps at a time, or use a water spray bottle to moisten the area before filling with foam.
Not sure what kind of insulation is right for your build? Check out Create Your Own Roadshow’s blog post on how to choose the right insulation for your van.
Tip #2: Airflow Is King
Ventilation is probably the most important part of a van build that no one talks about. Vans are moisture traps and the best way to control humidity and prevent mold is with good ventilation. A well ventilated van should be able to exchange the entire volume of air inside meaning from the cab to the back. For example, if your fan is in the middle, but you don’t have a rear window you can open, then the rear volume of air won't get exchanged when your fan is on.
First, we recommend investing in a fan that can be open during rain. This is honestly a must have for any van build because when it's raining is when you want the most airflow.
Second, we recommend installing window rain guards, or vent visors, on the cab windows. These inexpensive and easy to install parts will allow you to discreetly crack the front windows to allow air in and keep water out. This is key if you have problems with condensation on the inside of your windshield. We leave our windows cracked 99% of the time overnight.
Lastly, think about ventilating your cabinets and storage areas, especially where you keep your clothes. The dank is real y’all, especially if you plan to spend any amount of time in cold or wet climates. You can achieve this with louvered cabinet doors, drilling holes or by installing louvered vents in strategic locations.

Tip #3: Don't Rely on Solar Alone
Solar is great and should be part of every van build but don't count on it covering all of your charging needs all the time. For starters, solar arrays never output exactly what wattage they’re rated. Take our 300W array as an example. It puts out about 240W during perfect conditions, so take that into consideration when designing your system.
Second, the sun's angle has a very big impact on the efficiency of your system so if you plan on spending time at higher latitudes or are full time during the winter, you won't be generating as much power as you were in the summer or at lower latitudes.
We recommend installing a DC/DC charger, alongside your solar, so you can charge your batteries by running your engine. Just be aware of the extra strain this will place on your alternator. Our DC/DC charger has literally saved our butts in the PNW and Alaska where we experienced more than a week of rain and clouds at a time. They are relatively inexpensive and pretty easy to install. Just make sure to carry extra fuses!
Check out Create Your Own Roadshow's post all about vanlife solar setups for more information.
Tip #4: Design Different Lighting Zones
Lighting is so important, especially in small spaces. It allows you to control the feeling of the space to better match (or change) your mood, It gives you the opportunity to show off your style or creativity and it is super practical when designed correctly. Too often I see van builds with six non dimmable LED puck lights in the ceiling, and that's it. A setup like that will strain your eyes and leave you wishing you had spent some more time on your lighting system.
We recommend installing multiple zones of interior lighting that are controlled independently and are all dimmable. We personally have four zones of lighting in our van. The first is our overhead puck lights that are on a 3-way switch and dimmable. They are the work horses that flood the space with bright light when we need it. The second set of lights are under cabinet strip LEDs, also on a dimmer. These are perfect in the morning on their lowest setting, because they are below the level of your eyes. They also are great at full brightness for cooking. The third set of lights is another LED strip running width wise above our rear door, and you guessed it, dimmable. This is great for a reading light when we’re in bed but it also acts as a bright light when cooking outside with the rear doors open. Lastly we have a set of LED string ‘fairy’ lights that are battery operated. These are super moody and we use them when we need just a touch of light, like on movie night.
Second, we suggest installing exterior lights as well. They are great when you have to see if there are any bears out there, for those late night parties and for safety.

Tip #5: Install a Safe or Hidey-hole
You’re going to want a hidden place to squirrel away your valuables and important documents. This could mean designing a lockable compartment or safe into your build but at the very least create a secret area that would be invisible to a thief. Peace of mind is important when living on the road and this is a small, easy way to improve it.
Tip #6: Magnetic Catches Aren't Strong Enough
I had delusions of grandeur for magnets when I first built our van, they were cheap and easy to install, but it didn't take long for me to realize they were not up to the task of keeping our drawers shut on those backcountry roads. Make sure to design good cabinet and drawer latches into your build from the start, or you’ll end up like us with a bunch of different solutions hobbled together in a Home Depot parking lot. Good hardware can be expensive so plan it into your budget and look to the marine industry for inspiration. Check out Create Your Own Roadshow’s post about vanlife cabinets and hardware to learn more.
Tip #7: Don't Forget to Invest in the Vehicle Itself
You’ve invested a lot of time, energy and money into the build of your van, but don't forget to save some for the vehicle itself. I’m going to sound like a dad here when I ask, when was the last time it had the coolant flushed or a new battery installed? How are the tires and brakes? Oil change, light bulbs, power steering and brake fluid? What about the serpentine belt?
I think the key to a fun vanlife experience is avoiding vehicle breakdowns by keeping up with routine maintenance. It sucks trying to get your van worked on while you're living in it, trust us. Sometimes you’re forced into a hotel room for a few days which can add up fast on top of your maintenance bill. Our van was 8 years old and had over 100,000 miles when we hit the road full time. I like to think that my meticulous maintenance obsession has kept us (nearly) trouble free while on the road.

Tip # 8: Filter That Water
You’re going to be filling up water from a bunch of random places around the country or world with unknown quality variables. We suggest investing in a good water filtration system. When we first hit the road I only used one of those blue RV carbon pre-filters when filling our water tank, and while I still do use those, I’ve since added a second carbon filter under our sink between the water tank and the faucet. I think this is the minimum amount of water filtration I would recommend in a van build. Alternatively you could use an external filter such as a Berkey.
After the first six months in our van, the faucet was completely clogged with limescale. After installing the under the sink filter, it hasn't plugged up since. We have an entire breakdown of our van water system at CYOR.com that includes details about water filtration and system maintenance.
Tip #9: Don't Waste Money on Plastic Leveling Blocks
Most plastic leveling blocks are made to be used on flat surfaces like concrete and unfortunately as soon as you use them in a real world scenario, they crack. Instead just get some 2x4s and cut them into 12” long sections and stack as needed. This solution takes up a bit more space but is way cheaper and more flexible than the plastic options on the market, plus, you won't get upset when one inevitably breaks. If you're like us, your leveling blocks are a collection of random wood blocks you’ve found behind dumpsters or in the middle of the woods over the years, and guess what, they work great.

Tip #10: Install a Kill Switch or GPS Tracker
It's a sad truth that vans are targets for thieves. We've had personal friends get their van stolen and have heard stories of countless others. A good, cheap DIY way to keep your van from going anywhere without you is to install a kill switch. This is a small hidden switch that interrupts your vehicle's starting function in some way such as cutting off power to the fuel pump or starter motor. Do your own research and keep your solution a secret! Alternatively or in addition to, you can install a GPS tracker so you can keep tabs on your baby's whereabouts at all times.
We hope these tips are helpful to anyone in the planning stages of a DIY build or looking to upgrade their current rig. For more van building tips and travel advice checkout CreateYourOwnRoadshow.com. Happy vanlife to everyone out there!